Pages |
Home |
| Canon sRAW vs. full RAW, when small is a BIG deal. updated 10/17/13 |
 36 inch product print from a Canon 7D |
Do we always need the large, memory intenstive images? The last decade has seen a race of camera vendors hell bent to forever increase the pixel count of their sensors. While it's nice to have poster size and quality with every click, it comes with a price in terms of file size management and aquistion speed. To illustrate. I had a catalog shoot in a warehouse that involved a SKU of some 10,000 small parts. A team of two photographers, tethered to two capture stations, with assistants to input meta data. Even though we were using dual-core laptops, shooting full resolution 21MP RAWs were taking over 5 minutes to register and render in the capture stations. The whole reason for tethered shooting is to save time by ensuring that a shot was executed correctly before clearing the table for the next item. These weren't cover shots, but simple place, aim and fire. Next. It didn't look good for the client/boss to see us standing around waiting, (and it makes for a long day). Fortunately, I had a solution in mind: shoot smaller files sizes. We held a brief discussion with the designers about their desired output, and since they only wanted something for web and a simple 3" placement in a book, we switched to using the 4.5MB small RAW (sRAW) files. In doing so, capturing and edits returned to real-time and we quadrupuled our results. Proper image memory management by "Intent". At full resolution, the Canon 7D is capable of printing a decent 24×36 image. While it works wonders on an Epson 44" printer, not all jobs require that kind of output. 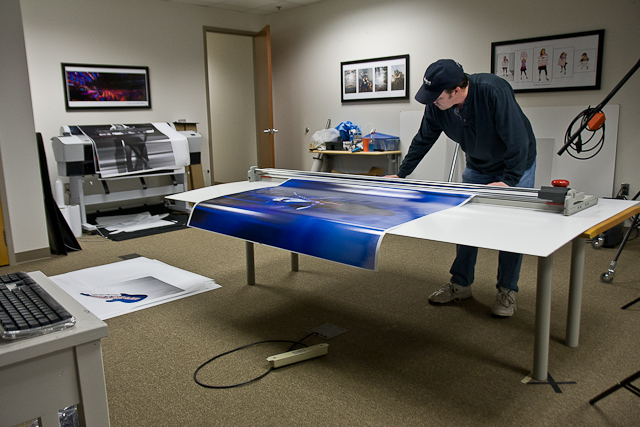 Trimming 44" posters, shot on a Canon 40D in full RAW, for a sales event.
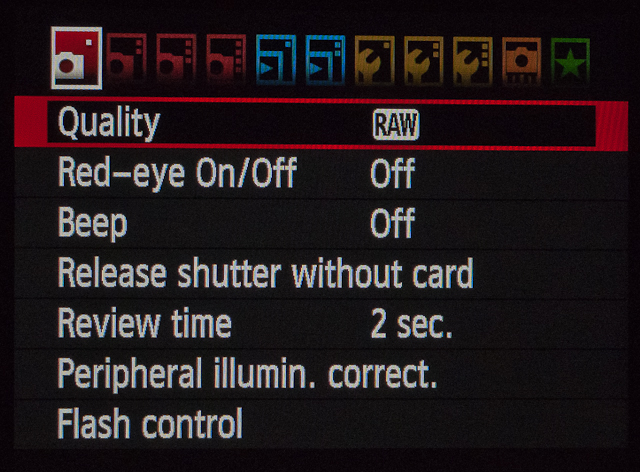
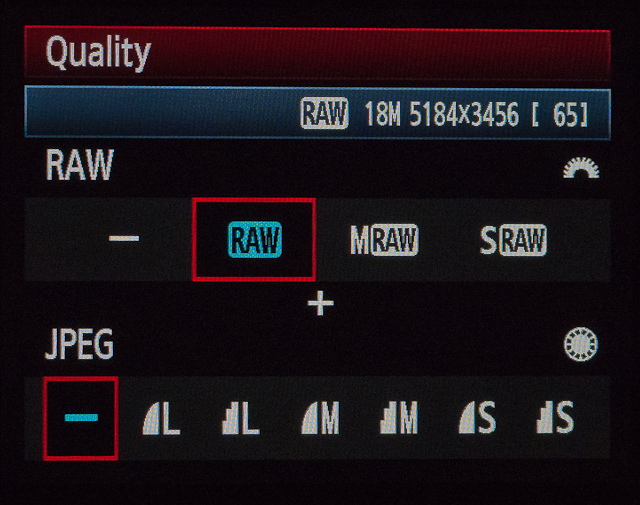
It makes sense to regulate the size of your images based on their final intended use. If you deal with a high volume of shoots, and have to edit many files in quick fashion (to realize a profit on your editing time), sRAW becomes a consideration. Note: when dealing with clients, always ask what their intended output is, be sure to cover the pros and cons, and make sure it's spelled out in the agreement. I also do alot of shots with my kids in the park and sRAW is perfect for files intended to share online. Selecting full RAW for landscapes and when the clients needs require it. Just make it a habit to know what size you're shooting for, no different than choosing an f-stop and shutter speed. Shooting for the intended output size has greatly reduced my need for drawers full of hard drives. Canon recognized the need for small raw, (primarily for editorial) and provided a solution in form of small RAW files, "small RAW" (sRAW) at 4.5MP, and "medium RAW" (mRAW) at 10MP. Where you can selectively choose the image resolution for the any given shoot and still enjoy all the benefits of editing RAW files.
Files sizes of the 4.5MP sRAW average about 8.6MB, comparable to what I had with the 40D, and the mRAW at 13.5MB, and full RAW at 21MB. Obviously, working with sRAW files in a project were just as quick and responsive to what I had experienced with the 40D, and just as quick as working with jpegs. However, before I simply incorporate sRAW into my workflow, other than image size, what exactly am I losing here? If you want a better understanding of the math, read it here (pdf) . Knock yourself out. I'm more of a hands-on guy, and the eyes do a fairly good job of estimating the result. That's what matters. Shooting Color Charts, seeing the real differences.
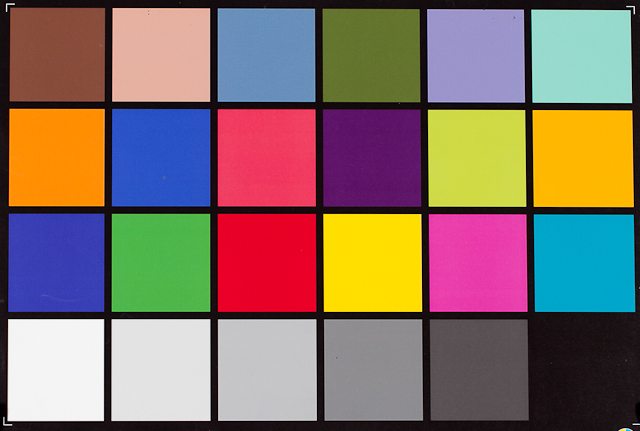
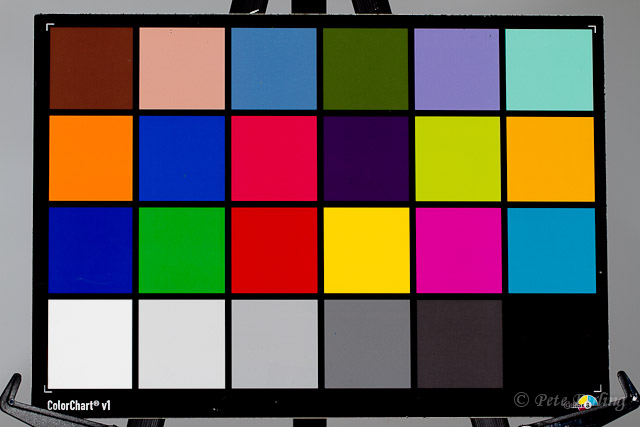
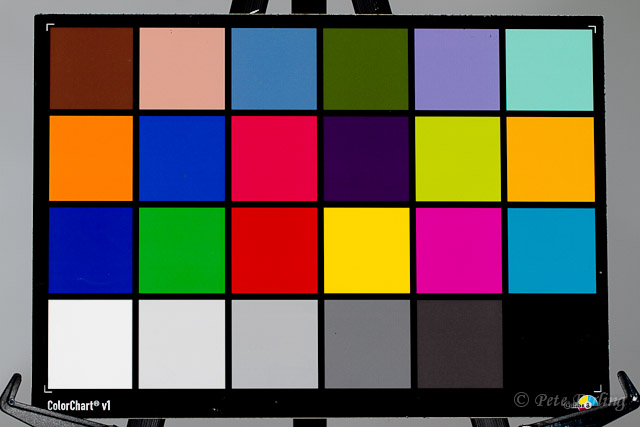
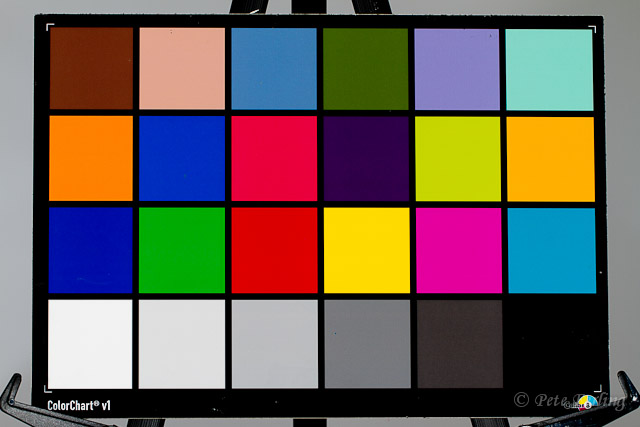
Other than lower resolution, what about the rendering accuracy of sRAW vs full RAW? That is, does less data mean we have less color, and if so, how much? In order to find out, we have to shoot what is known as a Macbeth Color Chart. Shooting the chart at each of the three RAW sizes in the exactly same setting, and then compare the results to check for inaccuracies. The Macbeth color chart is a sampling of basic color values used for calibration of camera's and systems (useful in multi camera shoots). While the correct use of the color chart can seem confusing, it really isn't. It's simply a known reference to use as a baseline. In our test here we're not after color profiles to correct color, but to determine the value difference in those colors between sRAW and full RAW, and hence determine if the loss is significant enough to reject the usefulness of sRAW.
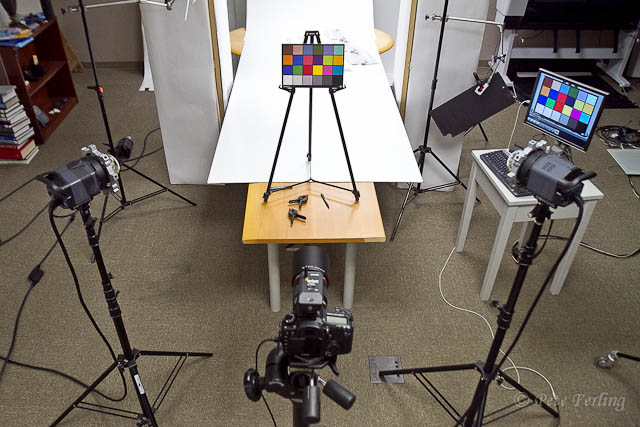
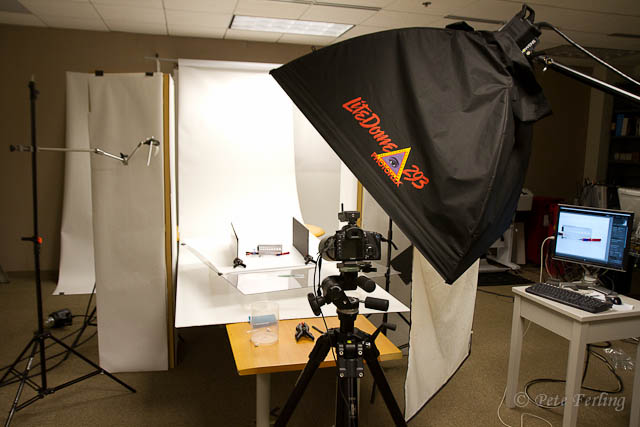
To do this, we carefully shoot a chart in a known, uniform lighting condition, in this case, 5000k studio flash. We could also shoot this outside on a cloudy day, but would have to ensure even lighting across the entire piece and introduce unwanted variance. I took three shots each, with two Canon 7Ds, at sRAW, mRAW and full RAW. All other settings remain unchanged.
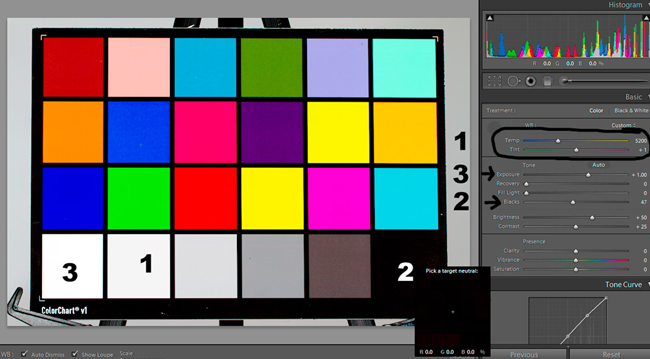
In lightroom, using the full RAW capture, 1) I picked the neutral gray patch for white balance, 2) then I set the black point to zero, and 3) increased the white patch luminance to 100%. I then copied these values to the other charts and then compared my findings. Interestingly enough, the difference was so minute, that it could only be seen in software at the pixel level.
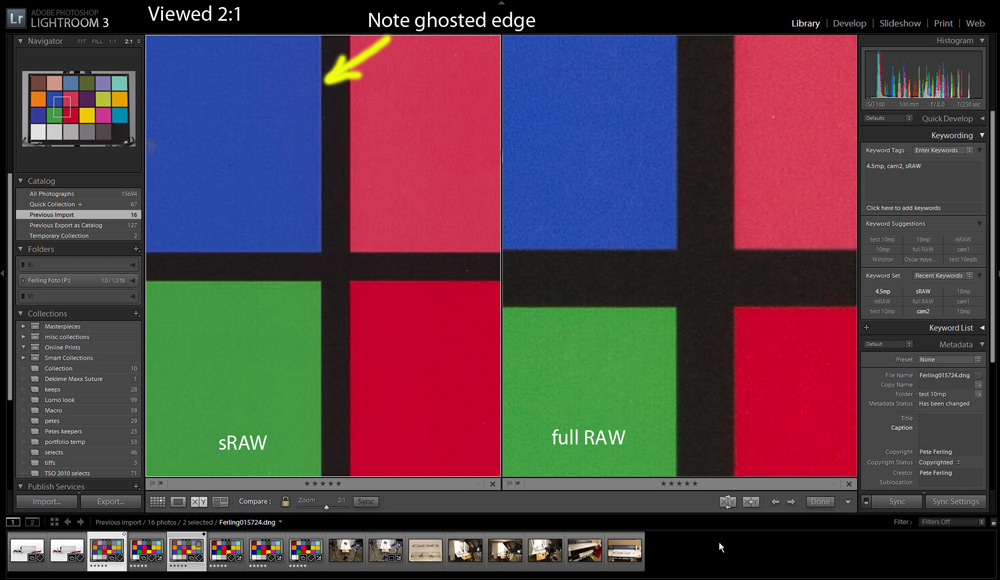
To better understand the difference, I then loaded both the sRAW and full RAW files as layers in Photoshop, subtracting one from the other, and provided a gray scale image of the result. 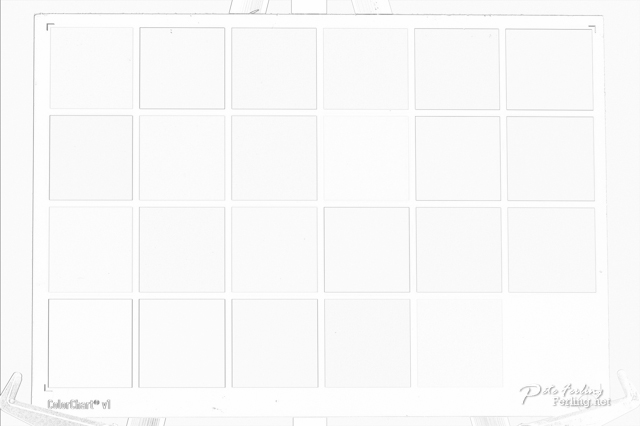 Above: sRAW vs full RAW color differences, (grey areas reflect differences). Looking at the chart above, the shaded area's represent the differences in color shift, (a perfect match would have been a completely white image). Upon careful inspection at the pixel level, most of the differences (gray areas) attributed to noise mismatch, something unavoidable with digital sensors. However, it took this extreme to see the real difference, and that difference is so faint that its hardly a failing in using sRAW. I also noted some edge ghosting of the sRAW image. Which makes sense, as the full RAW image allows for more information to describe any abrupt transitions in color. Likewise, you will note that the black patch does not have any edges at all. But the edges of the card and the stand do.
While I'm fine with how sRAW handles colors, I'm a bit skeptical about the edge issues. I did not sharpen the charts by any means, so sharpening would certainly bring out that edge and using sRAW may become an issue with shooting for keys or green screen for masking. Use full RAW if your capture is with green screen. Regarding color correction. I remember years ago spending hours learning how to make a custom profile in Photoshop for my 1Ds mark I before Adobe released their custom profile tool. While we're not going to cover that here, I've provide the link in case your interested. The proof is in prints.
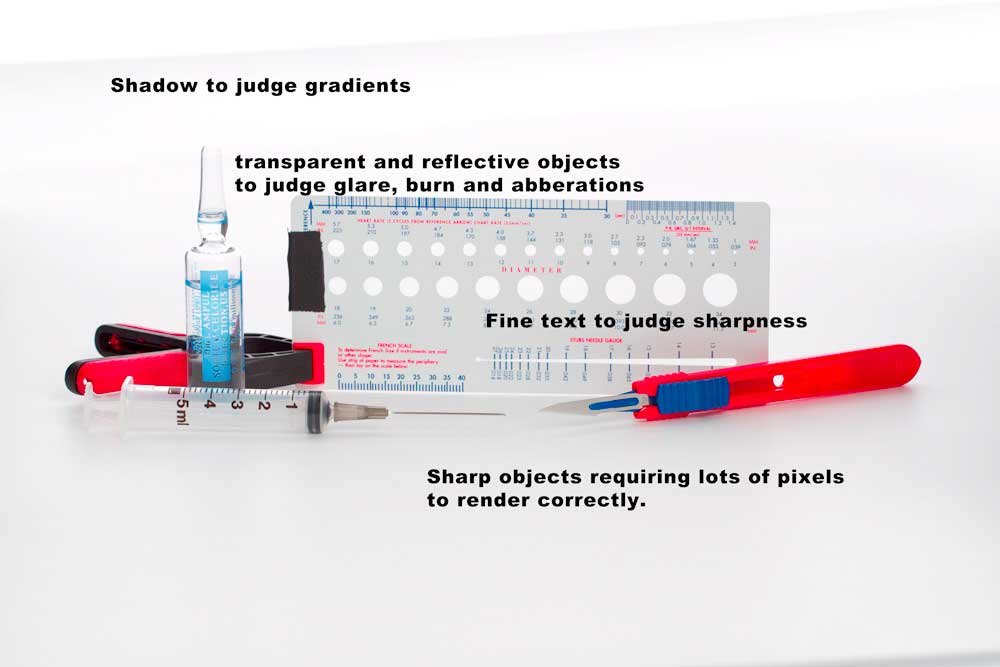
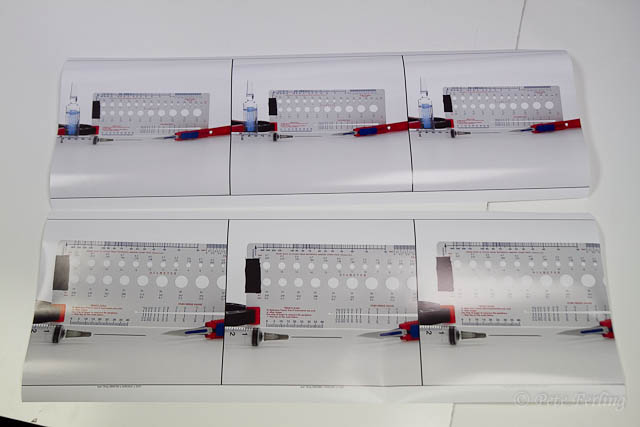
Next I printed a sample of each RAW resolution, assuming an 11×14 crop, and a second scaled up 200%, and then noted the differences. When viewed at arms length, all three resolutions held up admirably for 11×14. The sRAW did well and only with a loupe could I see any minute difference. However, at 200% the sRAW fell apart, with the mRAW getting a little softer, and full RAW was tack sharp. I wasn't too thrilled with the savings/benefit with medium (mRAW), the difference in files size is only about 2mp less than a full RAW when converted to DNG. Furthermore, mRAW files bogged down my machine almost as much as full RAW did, and so why not just shoot full resolution anyway? Lens limits and large files. Conclusion I find that its safe to say, at least for my testing, that sRAW is certainly suitable for both online use and sharp prints up to 8×10, and if carefully controlled, 11×14. How many images in your library fit within those guidelines? Finally, it's up to you. like my friends whom shoot and keep everything, they are willing to deal with the additional hassle and added expense of archive and maitenance. Granted, much of it has to do with the nature of their work, and some of it has to do with the "You just never know what you'll need." as well. However, based on my findings, it's certainly a good argument to consider incorporating sRAW in your arsenal of smart image management. -Keep Shooting. |


